along wall corners, skirting boards, door and window frames—places that are visually discreet. Avoid areas prone to damage or high temperatures.
Surface Cleaning
Clean the wall surface or skirting boards along the planned route thoroughly to remove dust, grease, or moisture that could affect adhesion.
Cable Preparation
If necessary, strip the outer protective layer to expose the invisible micro-cable inside. Some invisible cables, such as butterfly-type ones, may require removing their protective layers beforehand.
Tool Preparation
Insert the invisible cable into the designated slot of the hot melt glue gun or adhesive tool. Insert glue sticks and preheat the tool to the proper temperature.
Cable Adhesion and Fixing
Slowly and evenly advance the tool to apply the cable along the planned route. Use corner protectors on bends to maintain a minimum bending radius of about 5mm. Press the cable firmly to ensure close adhesion.
Cable Termination
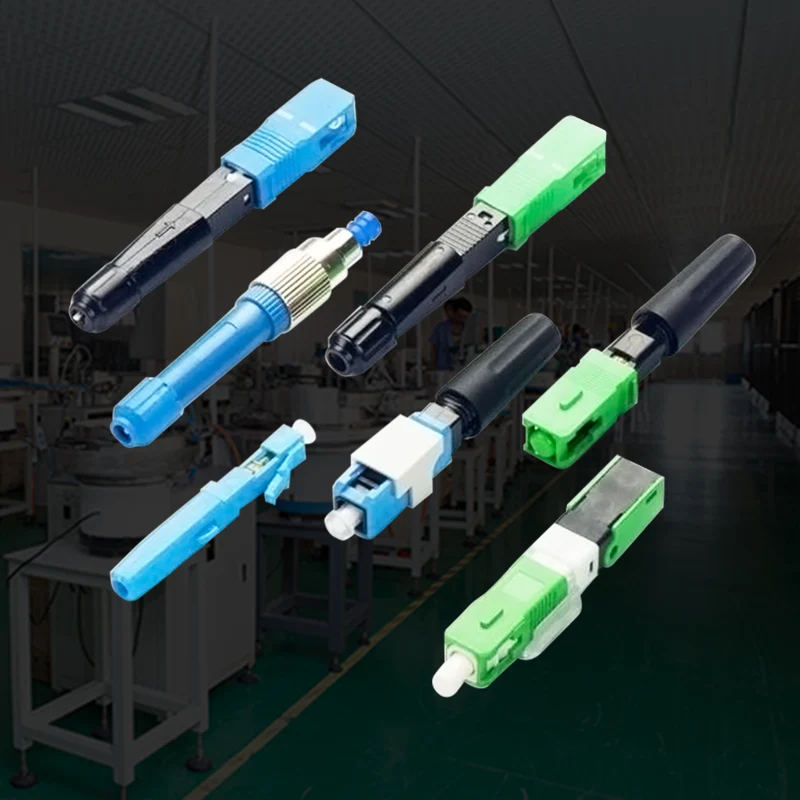
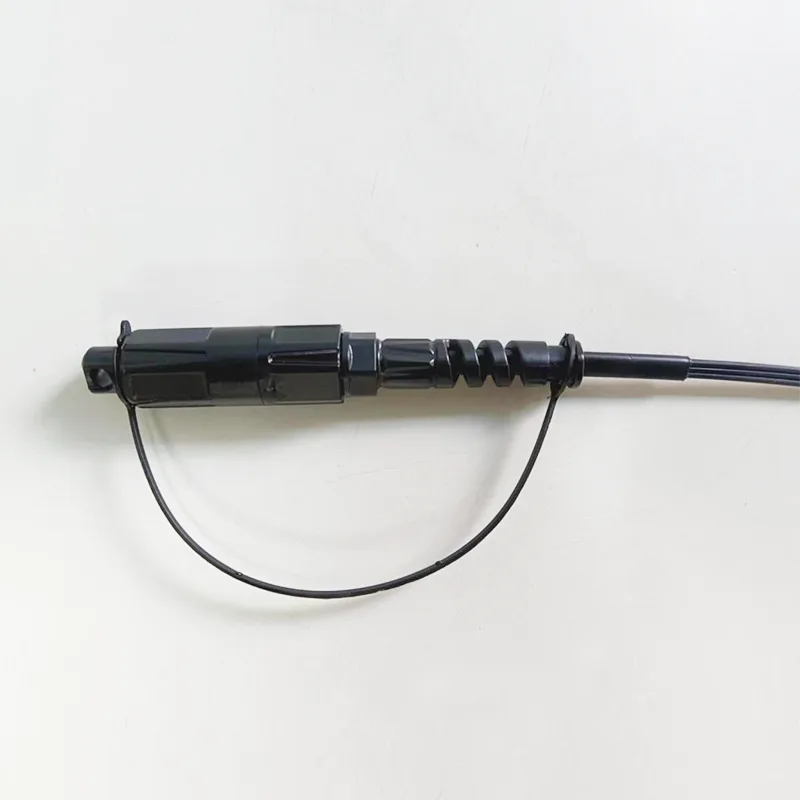
After finishing the laying, connect the cable end to the terminal device using quick connectors or cold connectors. Alternatively, fusion splicing can be performed on site if equipment is available.
Inspection and Testing
Check the cable for firmness, neatness, and quality of adhesion along the wall. Test the fiber optic link to ensure signal transmission is stable and meets standards.
Tips for Successful Installation
Ensure the surface to be adhered to is dry and clean for better glue bonding.
Use corner protectors to avoid sharp bends that can degrade signal quality.
Maintain a steady pace during laying, around 2.5 cm per second.
Avoid exposing the cable to heat sources or excessive pulling forces.
We use cookies to offer you a better browsing experience, analyze site traffic and personalize content. By using this site, you agree to our use of cookies.
Privacy Policy